When people hear about a new heating system, most of us picture the same scene: walls being broken open, pipes being laid, dust, noise, and days of renovation.
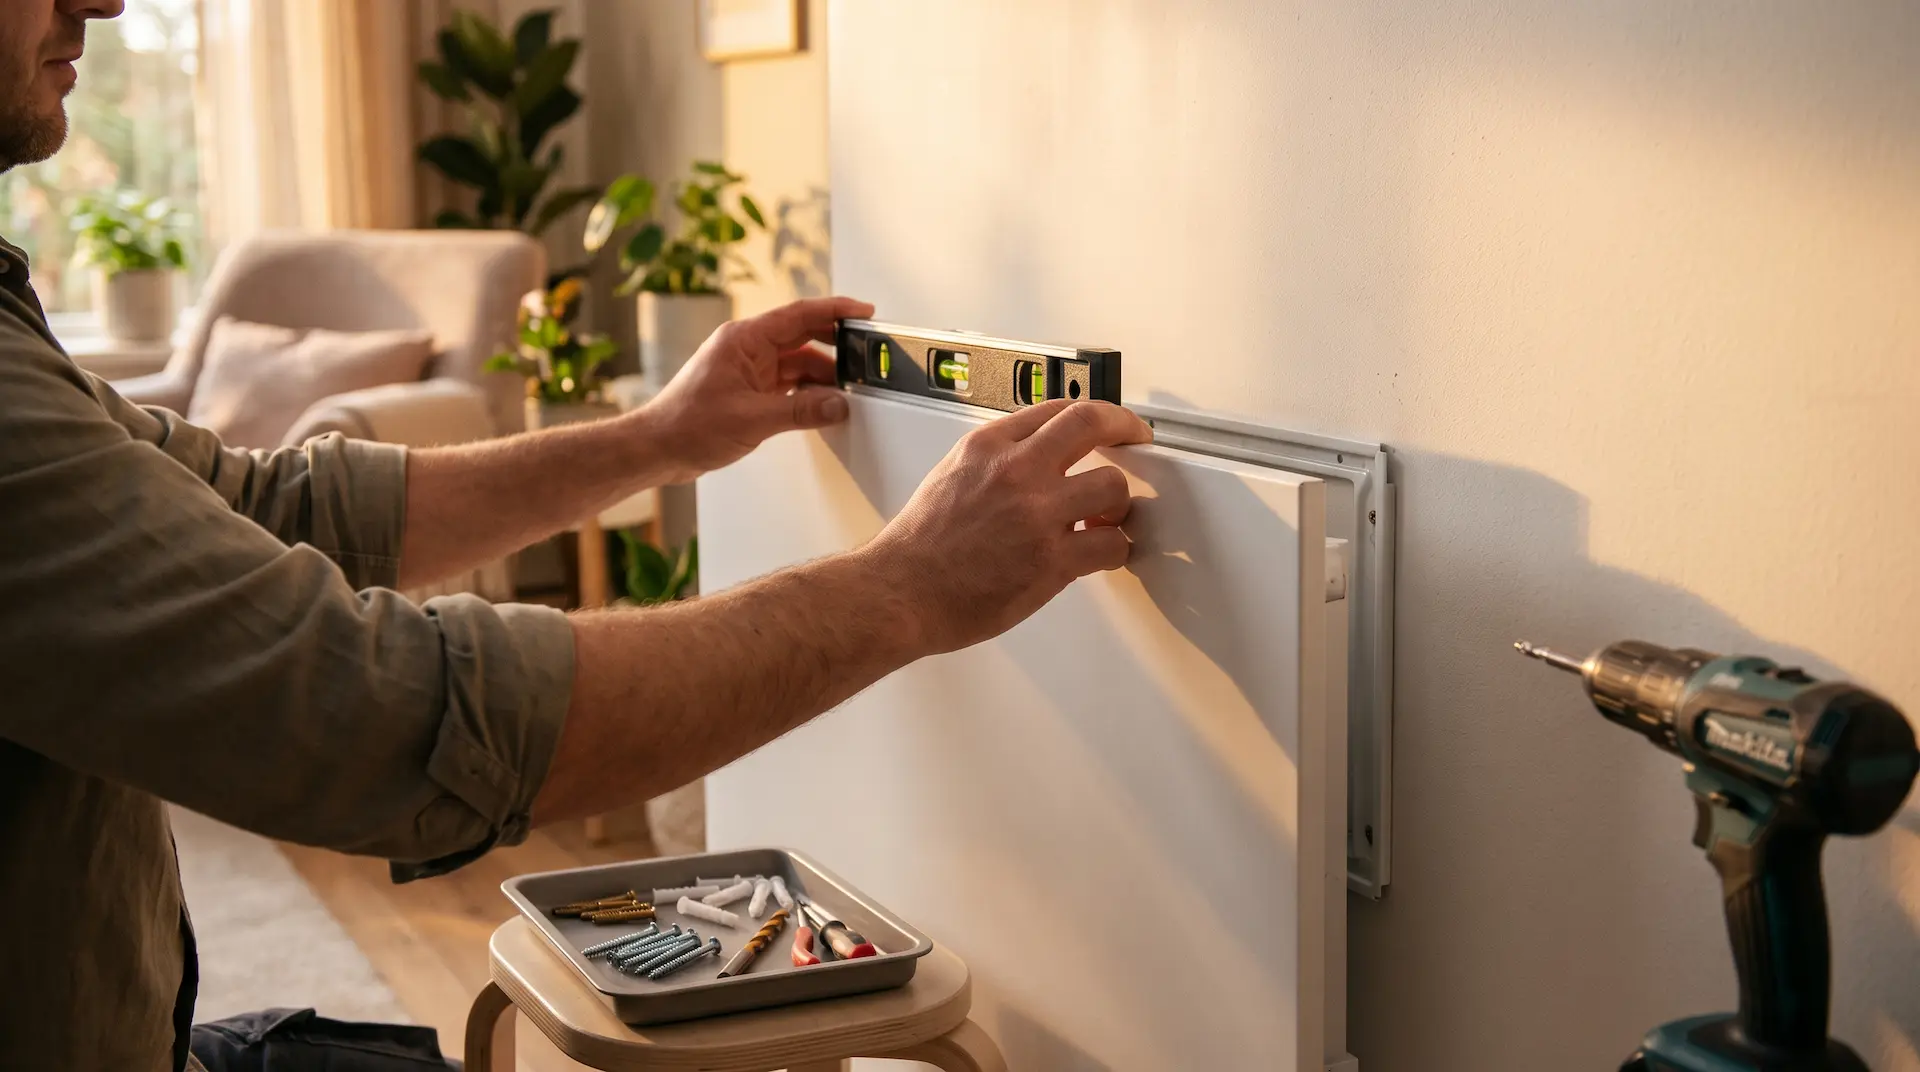
With Sunlike Tec, that picture changes completely. SL Series infrared panels lock onto the wall or ceiling with a practical bracket system similar to mounting a TV. Nothing breaks, nothing spills; no complex plumbing or ductwork is required.
From a yacht cabin in the Mediterranean to a mountain house in Northern Europe, from a city office to a hotel room, the installation logic stays the same: choose the right spot, fix the bracket, lock the panel in place. For large volumes such as factories, greenhouses, and farms, the OYKİ Series takes over, and installation is planned project by project.
In this guide you'll find the steps from our official installation manual, the suspended-ceiling option, and the warnings you absolutely need to know for safe use.
What's in the Box?
Every SL Series panel (SL 160, 320, 450, 640, 900) comes with the basic parts needed for installation:
- A low-profile, TV-style bracket pre-attached to the back of the panel
- Mounting screws
- Wall anchors
- A spirit level
The panels are only 25 mm thick. Depending on the model, their weight ranges from 1.5 kg to 5.1 kg. This light, slim build makes installation easier and makes the panel almost invisible in the living space.
As stated in the catalogue, SL panels can also be mounted flush against a wall or ceiling with zero clearance, without any risk of overheating. The SL Series is manufactured in Turkey under UK licence and carries both UKCA (United Kingdom) and CE (European Economic Area) conformity marks.
Mounting on a Wall or Ceiling in 6 Steps
According to the official Sunlike Tec installation manual, setup consists of the following steps:
- Remove the bracket: Loosen the locking screws on the back of the panel and detach the bracket.
- Mark the holes: Use the bracket as a template to mark the position of the 4 holes. For ceiling mounting, position the bracket parallel to the walls; for wall mounting, align it with a spirit level.
- Drill and insert the anchors: Drill the marked points and insert the wall anchors. Note that some ceiling types may require longer screws.
- Fix the bracket: Screw the bracket to the wall or ceiling.
- Hang the panel: Attach the clip on the back of the panel to the bracket.
- Lock it and remove the film: Lift the front of the panel and tighten the two locking screws. Finally, peel off the protective plastic film from the surface.
We recommend that the electrical connection be made by a licensed electrician. Fuse selection should follow the catalogue values: 3 A for 160–480 W models, 5 A for 640–900 W models. Since electrical infrastructure and installation rules can vary from country to country, please confirm compliance with local regulations with our specialists.
Suspended Ceiling Models: Drop Straight into the Grid
In spaces with suspended ceilings, such as offices, shops, and supermarkets, installation becomes even simpler. The SL 320Sc and SL 640c models are designed to fit directly into a standard suspended-ceiling grid.
| Model | Power | Size (mm) | Heating area* |
|---|---|---|---|
| SL 320Sc | 320 W | 595×595×25 | 6 m² |
| SL 640c | 640 W | 1195×595×25 | 12 m² |
Heating area depends on insulation, usage pattern, and building structure.
The suspended-ceiling models comply with the BS EN 13964 standard. The panel looks like part of the ceiling covering and takes up no floor space at all.
For large volumes such as factories, warehouses, greenhouses, and farms, the IP65-rated OYKİ Series is used with its adjustable bracket. In these projects, the position and number of units are determined through project-specific engineering calculations.
Guide Warnings for Safe Use
Easy installation only makes sense alongside the right placement. Be sure to follow these warnings from the manual:
- Do not cover the front surface. Covering the panel causes overheating and makes the unit shut down.
- Do not mount it where it could fall into water. Stay away from points near a bathtub or sink.
- Do not operate the SL Series outdoors. SL panels are designed for indoor use.
- Cut the power and let it cool before moving it.
- Do not open the device. There are no user-serviceable parts inside.
- Once installed, the panel requires no maintenance. There is no filter replacement, flue cleaning, or periodic servicing.
When choosing a location, pick a spot where furniture won't block the front of the panel. Infrared radiation gives its best result when it reaches the surfaces and people the panel faces directly. That's why positioning it toward a seating area, a desk, or a bed noticeably increases the sense of comfort.
Frequently Asked Questions
Q: Can I install the infrared panel myself?
The mechanical mounting of the Sunlike Tec SL panel to a wall or ceiling is done in the 6 steps of the official manual, using the bracket and parts included in the box. We recommend, however, that the electrical connection be made by a licensed electrician.
Q: Which mounting parts come in the box with a Sunlike Tec panel?
Every SL Series panel comes with a low-profile, TV-style bracket pre-attached to the back, mounting screws, wall anchors, and a spirit level. Some ceiling types may require longer screws.
Q: Can an infrared panel be mounted on the ceiling?
Yes. Sunlike Tec SL panels can be mounted on a wall or a ceiling. For spaces with suspended ceilings, the SL 320Sc and SL 640c models drop directly into a standard 600×600 grid and comply with the BS EN 13964 standard.
Q: Can an infrared panel be installed in a bathroom?
According to the user manual, the panel must not be mounted where it could fall into water, such as near a bathtub or sink. For bathroom use, choose a wall away from wet points and consult our specialists.
Q: How is installation done in large spaces such as factories or warehouses?
For large volumes, the IP65-rated OYKİ Series is used with its fully adjustable bracket. In these projects, the position and number of heaters are determined through project-specific engineering calculations.
Q: Does the panel require maintenance after installation?
No. Sunlike Tec panels require no maintenance; there is no filter replacement, flue cleaning, or periodic servicing. The products come with a 3-year warranty and a 30-year lifespan.
Q: Can Sunlike Tec panels be installed in different countries?
Sunlike Tec products carry both UKCA (United Kingdom) and CE (European Economic Area) conformity marks, and the installation logic is the same everywhere. However, electrical infrastructure and installation rules can vary from country to country; confirm compliance with local regulations in your country with our specialists.
Let's Plan Your Installation Together
Let's work together to determine the best model and mounting point for your space. Visit sunliketec.com, email info@sunliketec.com, or call +90 850 304 94 34; our team is ready to help with a site survey and needs analysis.
Sources
- Sunlike Tec User and Installation Manual (SL 160/320/450/640/900)
- Sunlike Tec Product Catalogue (2026)